iPhone Data Recovery
 Phone to Phone Transfer
The easy 1-Click phone to phone data transfer to move data between iOS/Android/WinPhone/Symbian
Restore-iPhone-Data Products Center

 Android Data Recovery
The Easiest Android data recovery software to recover Android lost or deleted Files
 Phone Manager(TunesGo)
Best iOS/Android phone manager tool to manage your phone’s files in a comfortable place
 Phone to Phone Transfer
The easy 1-Click phone to phone data transfer to move data between iOS/Android/WinPhone/Symbian

iOS Toolkit
A full solution to recover, transfer, backup restore, erase data on iOS devices, as well as repair iOS system and unlock iPhone/iPad.

Android Toolkit
All-in-one Android Toolkit to recover, transfer, switch, backup restore, erase data on Android devices, as well as remove lock screen and root Android devices,especially Samsung phone.
Even if the best mobile phone, similarly will produce the cache and junk files in the process of daily using, the iPhone is no exception. Along with these invalid files, cache files & more getting more and more, your iPhone will becoming more and more slow. Want to optimize and speed up your iPhone, as well as iPad and iPod touch, the most direct way is to periodically remove these useless junk files, so as to keep your device always efficient and have more energy. There is no doubt that iOS Data Eraser is definitely a good assistant for you to cleans junk files from your iDevices.
iOS Data Eraser provides the most comprehensive and secure data deleted solution, not only allows users to locates and cleans junk files from iPhone, iPad and iPod touch, but also can permanently erase private data, erase deleted files, and even erase all data and settings from iDevices, ensure your personal information is 100% safe, do what iTunes can’t. What’s more, the iOS Data Eraser now fully compatible with iOS 8, and support iPhone 6 & iPhone 6 Plus.
Can’t wait to cleans your iDevices’ junk files, free download a trial version below and have a try.
Step 1:Launch iOS Data Eraser and connect your device
Launch the iOS Data Eraser after installation, and connect your device to computer via an Apple USB cable, once your device is detected, you can see a window as the picture below, there are five options on the menu bar on the left.

Step 2:Locates the junk files from your device
Click on the second option “Express Cleanup” in the left column. A “Express Cleanup” window will open on the right panel. On this panel you will be notified that how many days you have not clean up your device and the storage space available on your device. Now, you can click the “Start Scan” button which in the lower right corner to begin scanning the junk files from your device.
Step 3:Clean up junk files from your device
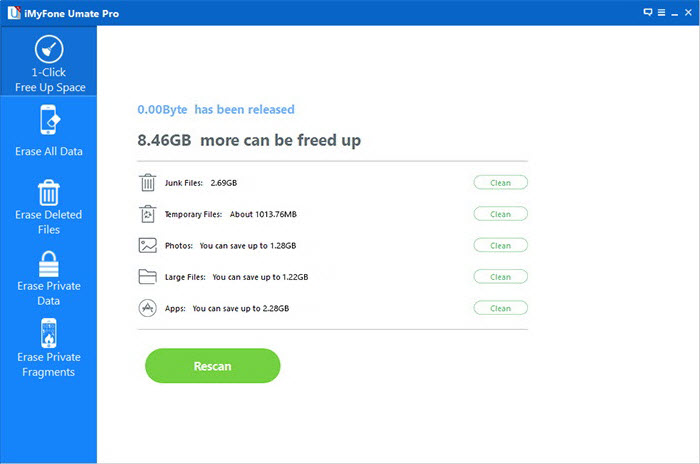
Once the scan is finish, the program will show your the total amount of junk files. Tick off the junk files those you want to clean up one by one. You can click the blue file size buttons behind the junk files and the expand icons to view more file details.
If done, click on “Erase now” to remove the selected junk files.

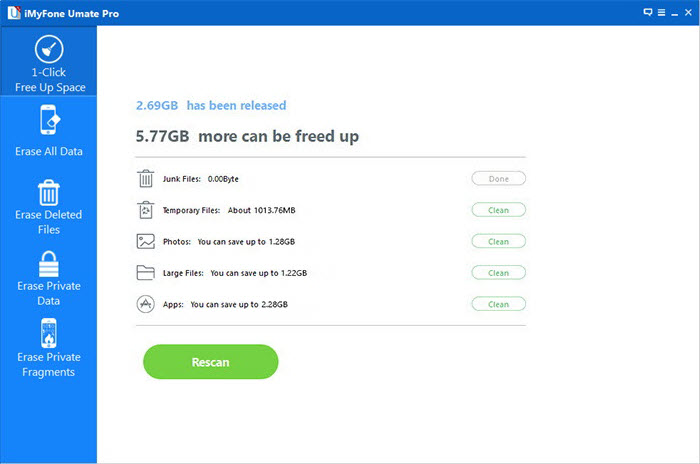
The whole cleaning process will not spend too much of your time, just wait a moment, when the cleanup is complete, the cleanup results will be displayed, you can click “Done” to return to the main window or “Rescan” to scan your device again after viewing the result.
